Connecting P5.js to Zoom
Overview
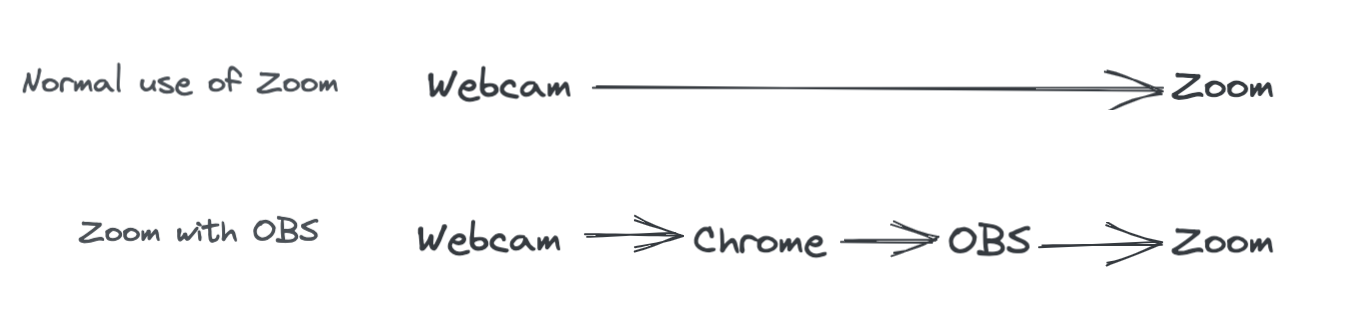
These instructions configure Zoom on your computer so that it displays a live image from a web page, instead of displaying the video from your webcam.
They use Open Broadcaster Software (OBS) Studio to create a virtual camera. Zoom treats this virtual camera as a webcam, but OBS can supply video from a web page instead of the physical camera.
This differs from Zoom screen sharing. The OBS virtual camera replaces your image in the gallery instead of showing a shared screen beside the gallery. Each participant can therefore appear as a computational or augmented image at the same time.
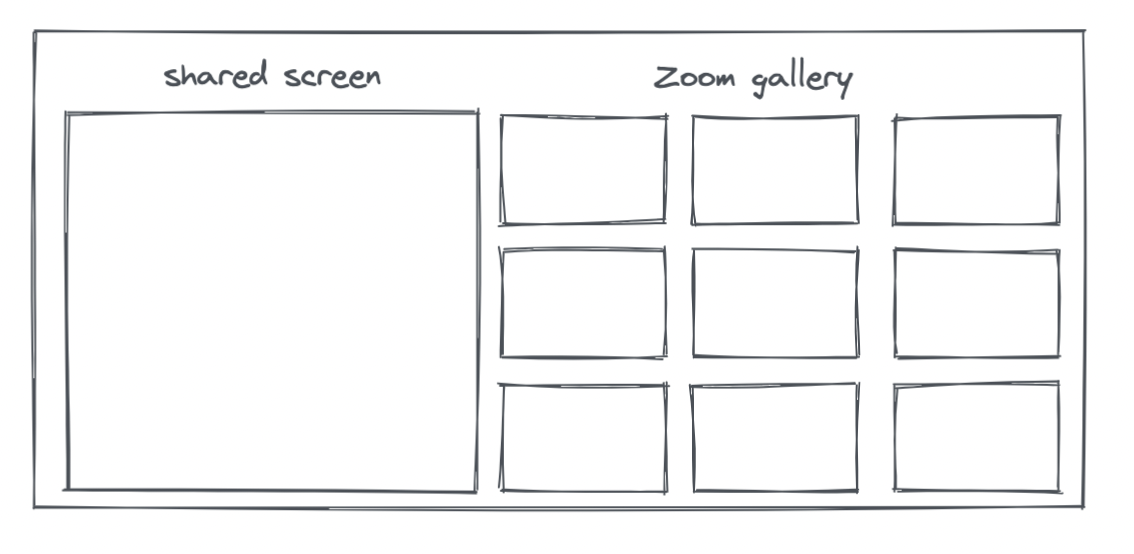
Zoom, with screen sharing
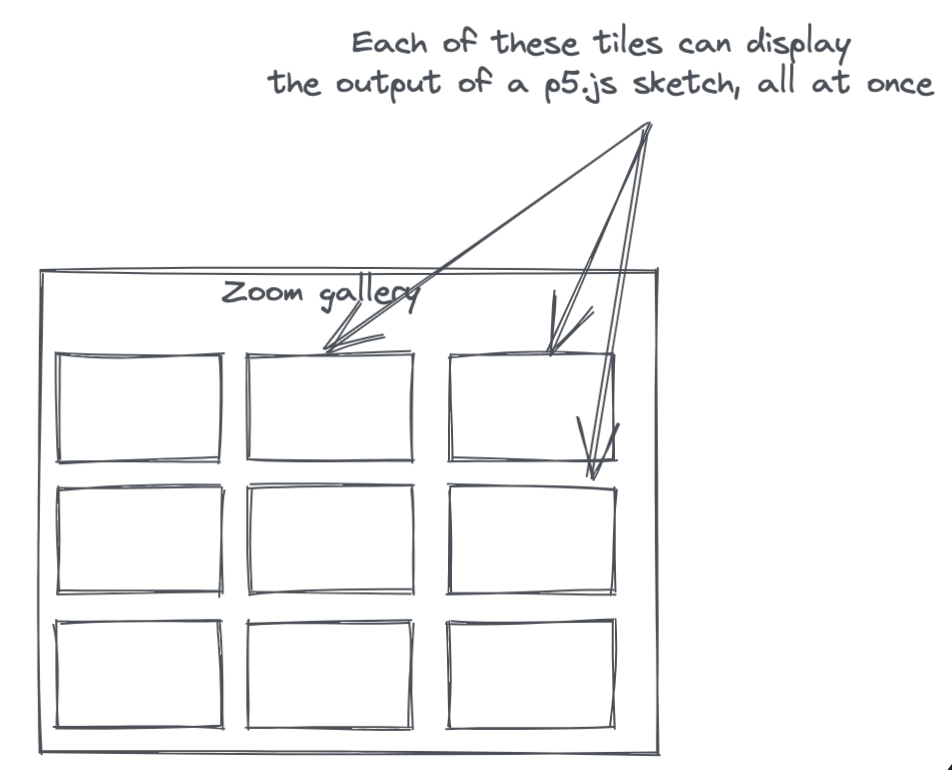
Zoom + OBS, with virtual cameras
Note: Running all these programs at once uses substantial processor and memory resources. If your computer cannot run them reliably, ask an instructor for another approach.
Steps
Install and Launch OBS and Chrome
- Download OBS from here, and install it.
- Launch OBS.
- Launch Chrome, if it is not already launched.
- Open the
https://openprocessing.org/sketch/1556869https://poseshare.underconstruction.fun/ URL in Chrome.
Create an OBS Scene
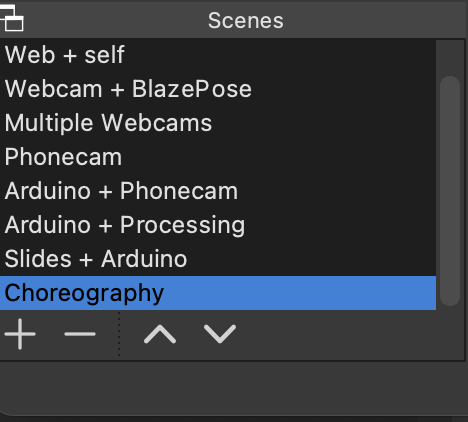
Using the + button under the Scenes menu, create a Scene. Name it Choreography. Click on it to select it.
Add an OBS Source
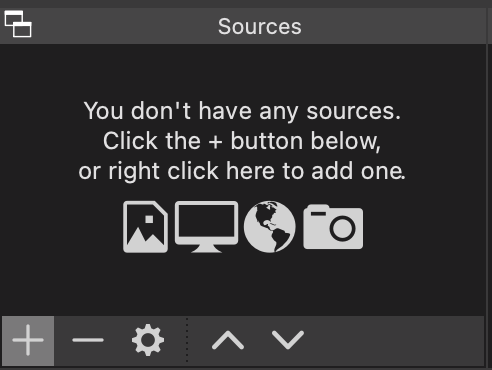
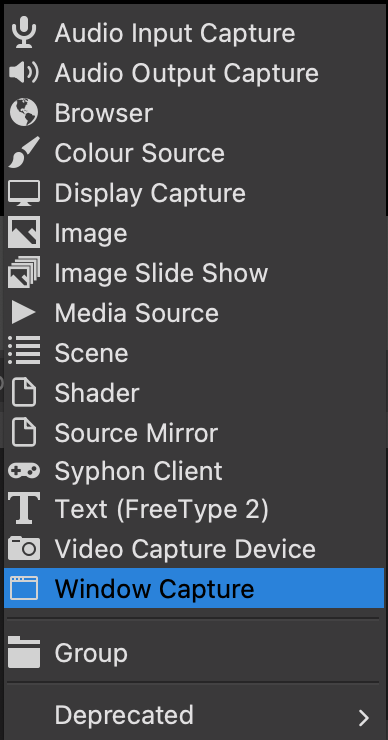
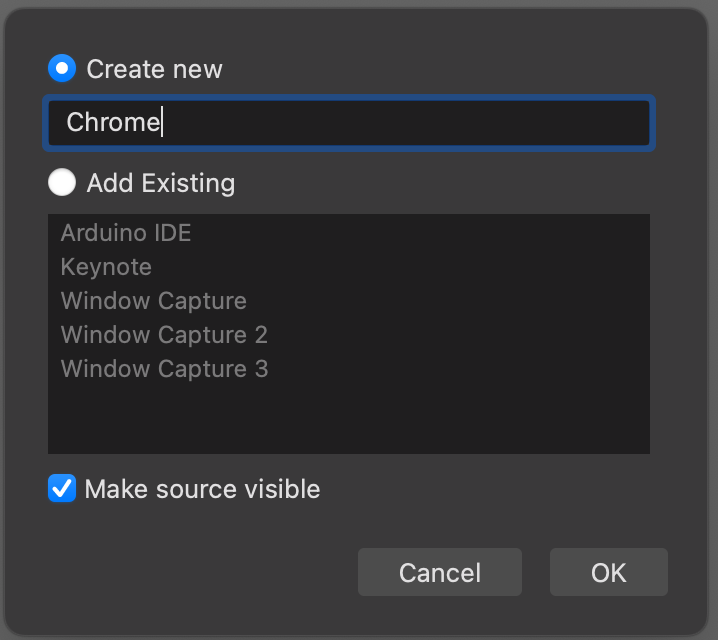
Using the + button under the Sources menu, create a Window Capture source. Name the source “PoseShare (Chrome)” (or any name that will allow you to find and recognize the source later).
Use the Window popup menu to select the Google Chrome window.
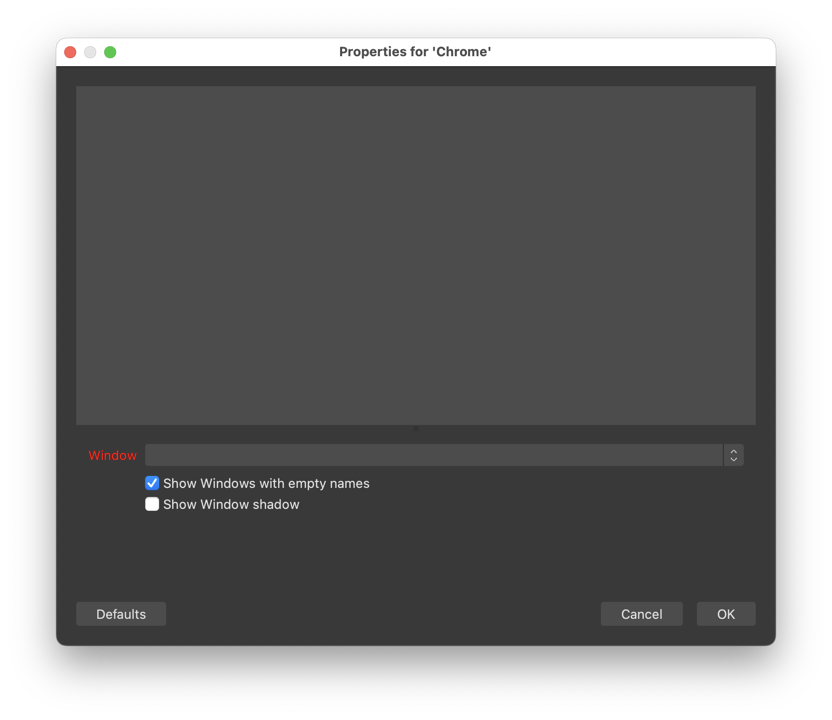
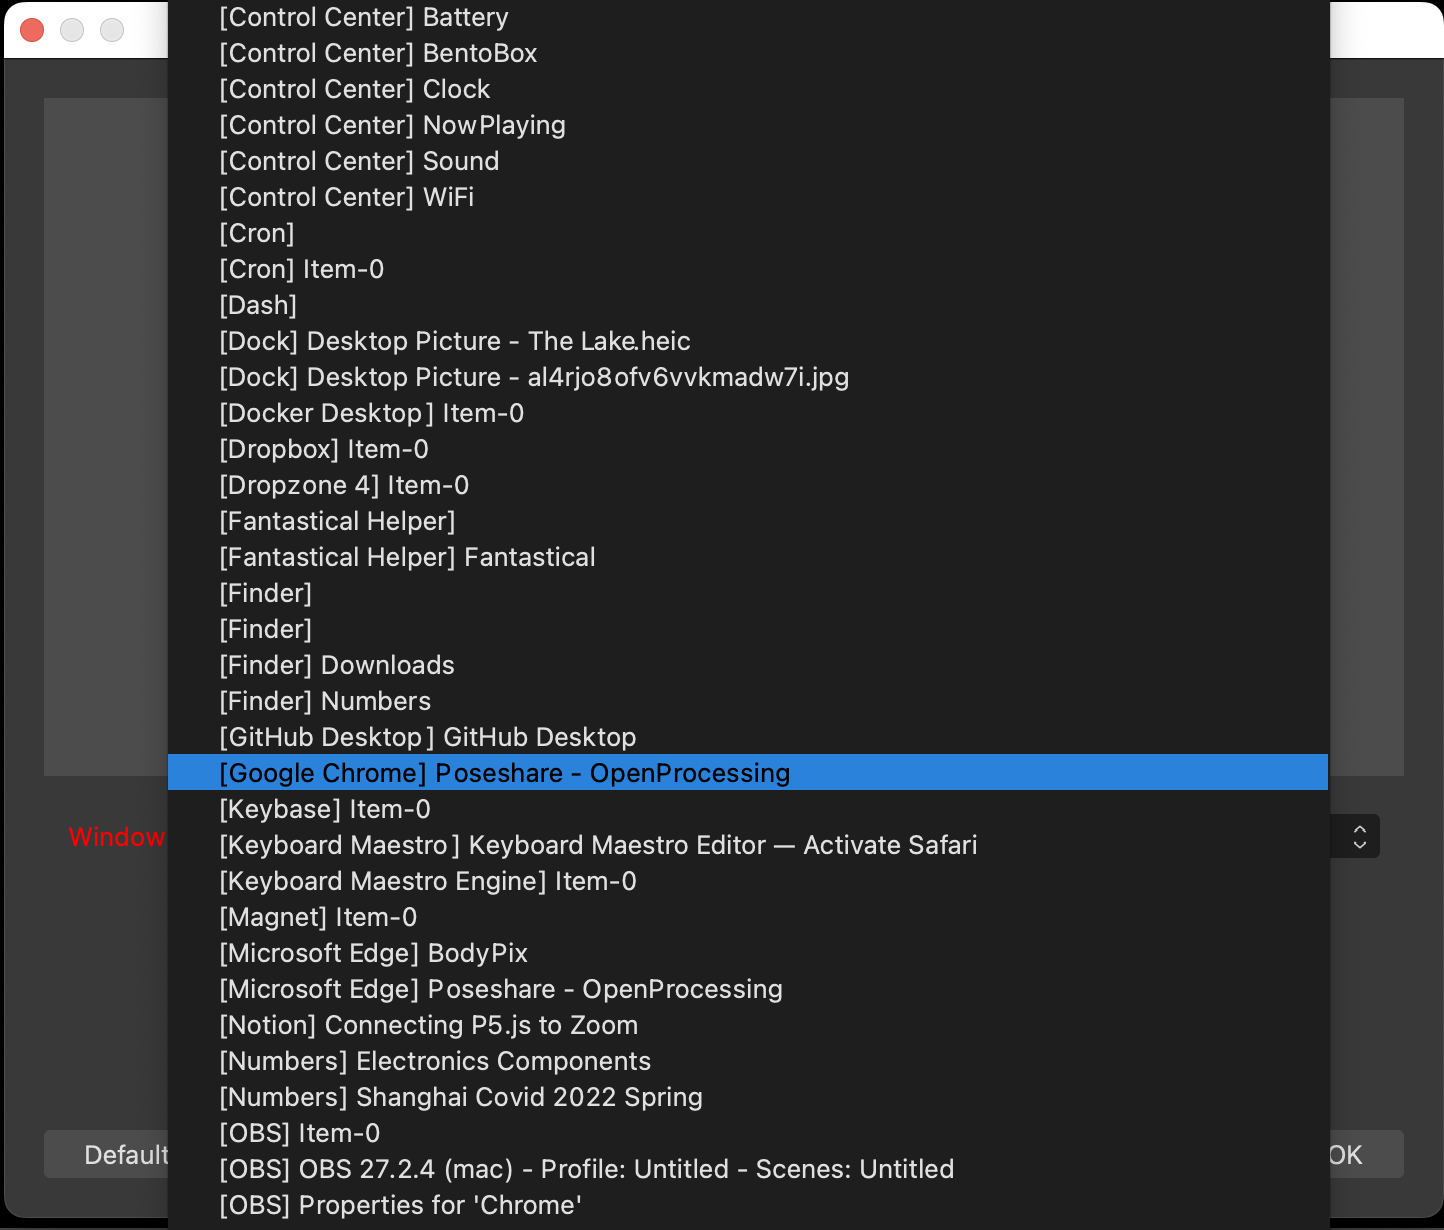
In the top part of the OBS window, you will see a live capture of the video source (the browser window). It is surrounded by a red or green border. At each corner, and in the middle of each edge, is a small red rectangle (“handle”).

Use these gestures to crop the source so that includes only the Webcam portion of the web page, and to move and resize it so that it fills the height of the OBS window.
- To resize the image, drag the handles.
- To crop the image, Option-drag (macOS) or Alt-drag (Windows) the handles.
- To move the image, drag within the source rectangle.
Connect OBS to Zoom
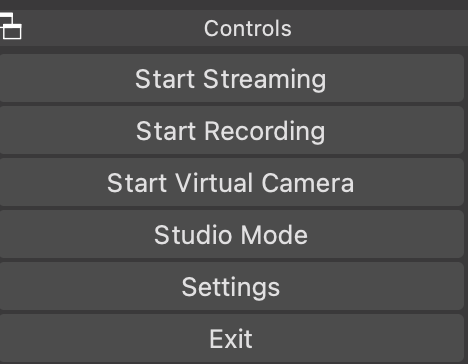
In OBS, click the Start Virtual Camera button in the lower right corner of the OBS window (the left screenshot).
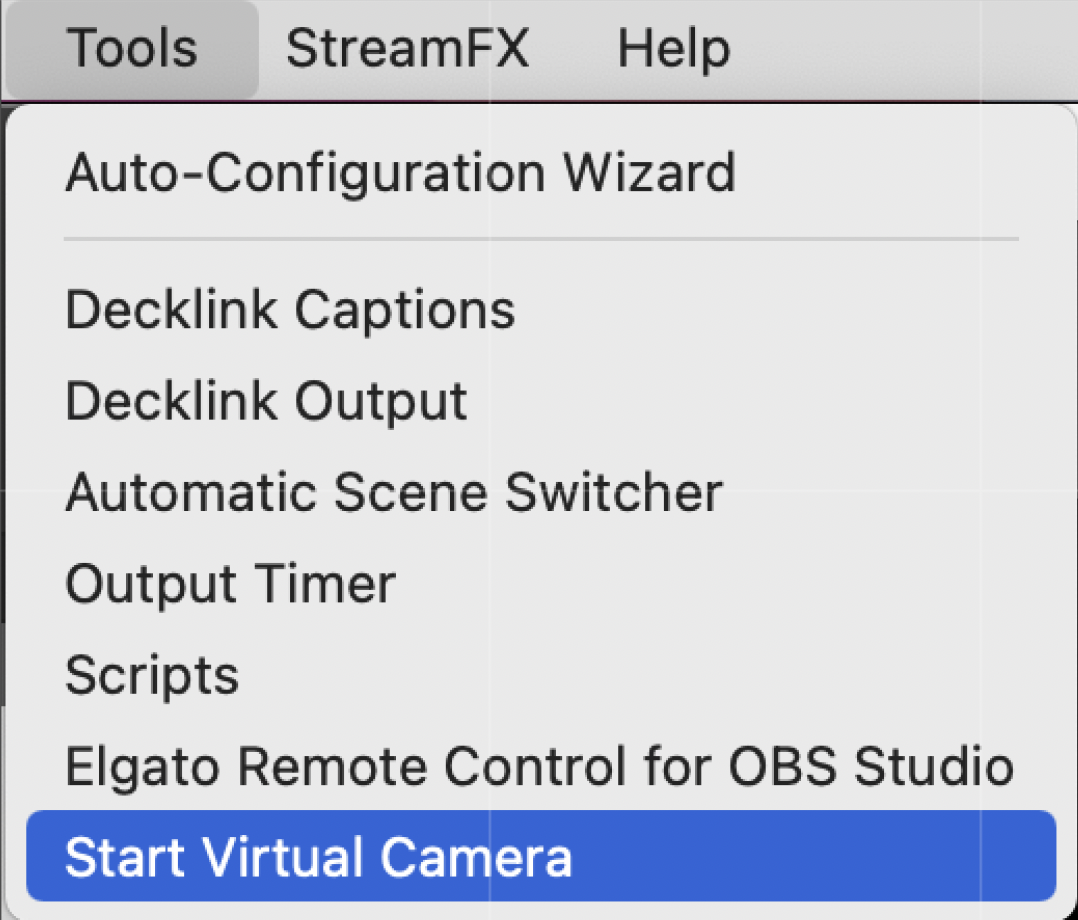
As an alternative, you may instead select Tools > Start Virtual Camera.
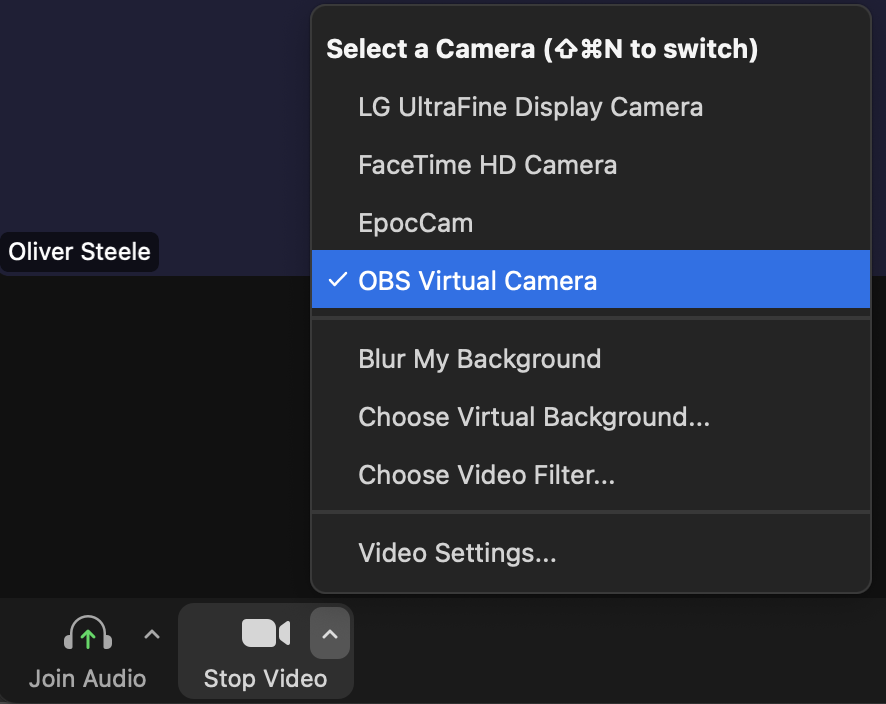
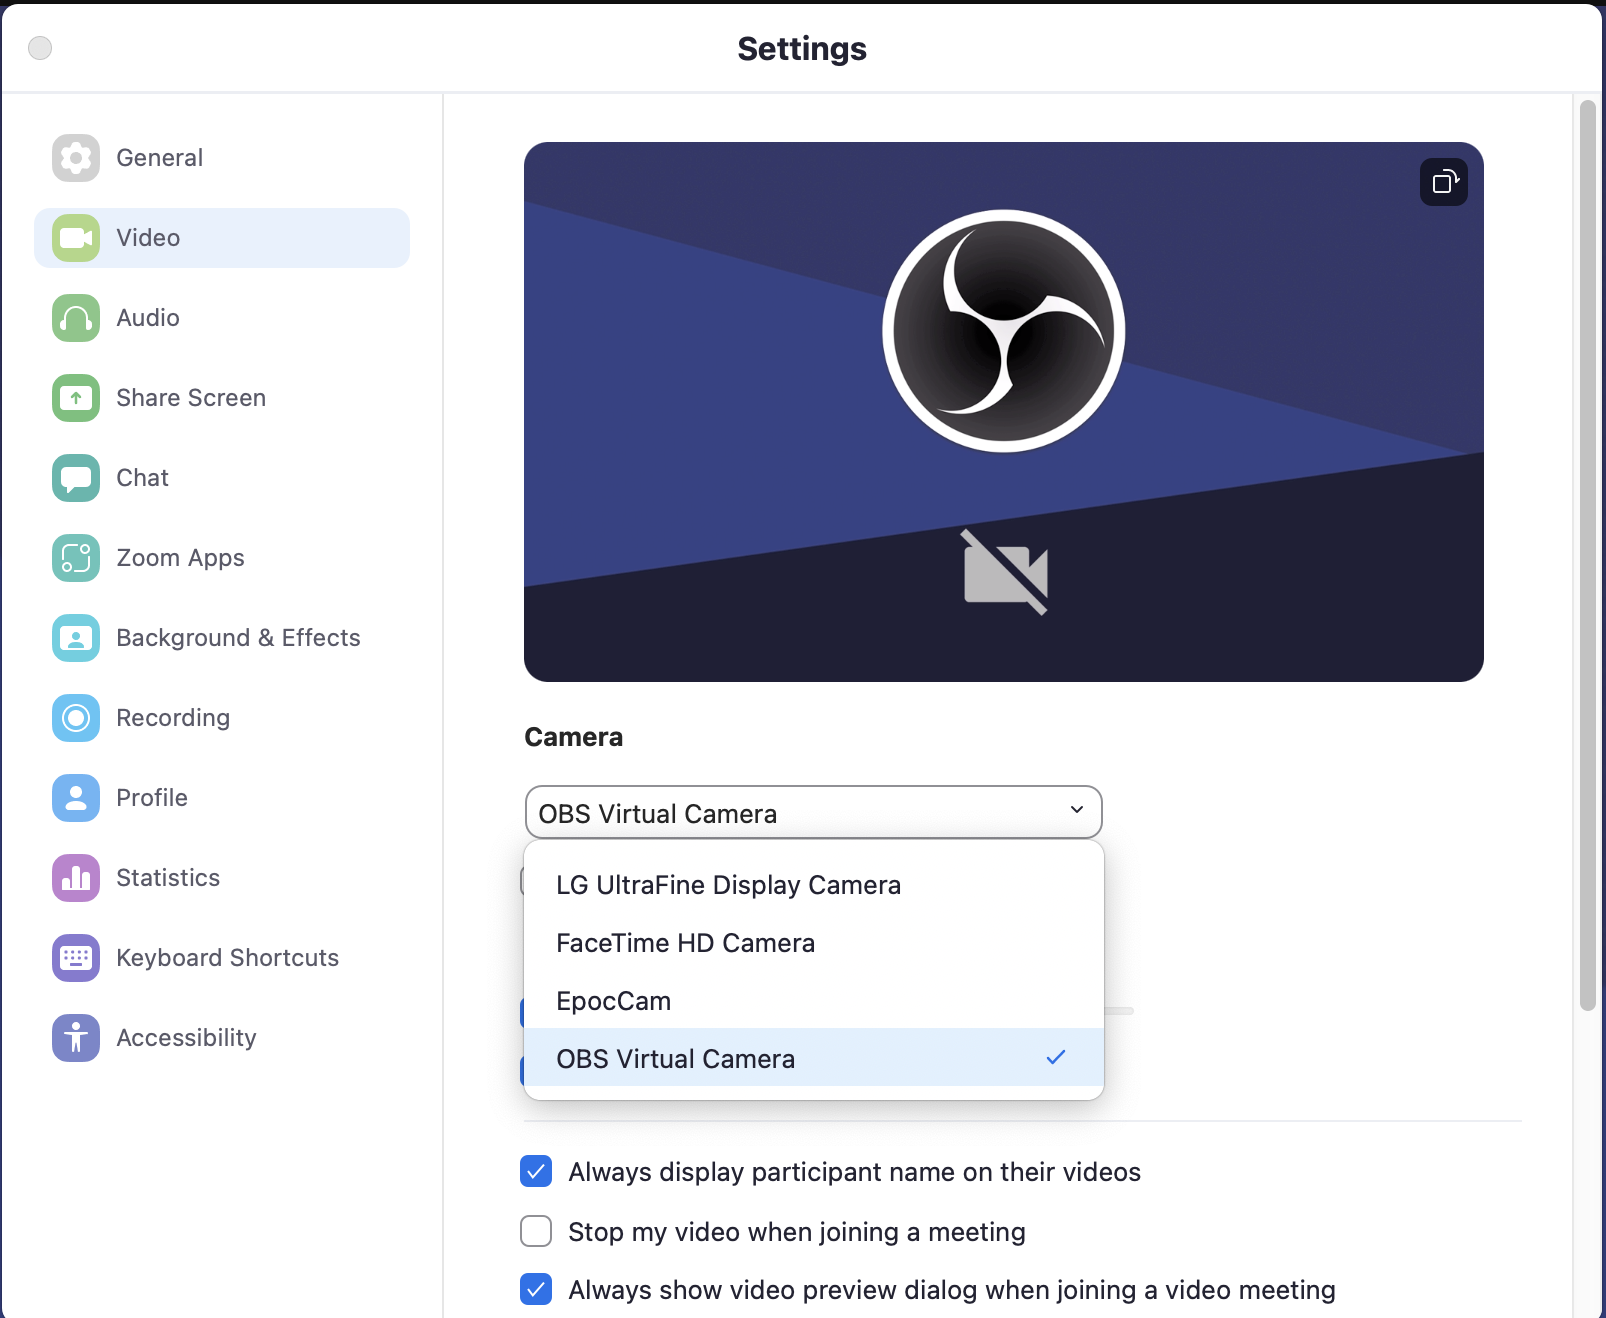
In Zoom, choose OBS Virtual Camera from the Video menu.
If everything is working, your Zoom gallery square should now display the contents of the Chrome window.
After class…
Don’t forget to switch your camera back to your built-in webcam before your next Zoom meeting! (Unless you want to use p5.js to create your own avatar…)
In addition to the Video menu in the meeting controls area, you can also select the webcam in the Zoom Preferences.
Troubleshooting
Site Doesn’t Have Permission to Use the Webcam
If you clicked “no” when the site asked to use the camera, you will need to go into Settings to give it permission. Follow these instructions.
BlazePose Is Using the Wrong Webcam
If your computer has multiple webcams connected, Chrome may choose the wrong one. This can be the case if you have installed a virtual webcam such as Snap Camera or OBS, or have connected your computer to an external webcam or a display that includes one.
If this is the case, follow the instructions here to direct Chrome to use the appropriate camera. Then refresh the page.
Use the Camera menu to select a different webcam.