p5.js Particle Workshop
During this workshop, you will start from an empty p5.js web page and progress through a series of “particle systems” animations.
This workshop introduces JavaScript and p5.js tools through a sequence of particle animations. You will practice variables, functions, objects, iteration, randomness, and a code-and-browser workspace. These techniques also apply to other parts of your project; you do not need to build your own particle system after the workshop.
You do not need to memorize every technique. The goal is to recognize when a technique may help, then consult an instructor, the p5.js reference, or the workshop code posted after class.
Set up your workspace
The instructions for configuring Visual Studio Code and Chrome for web development have moved here.
A. Configure Visual Studio Code
-
Launch Visual Studio Code.
-
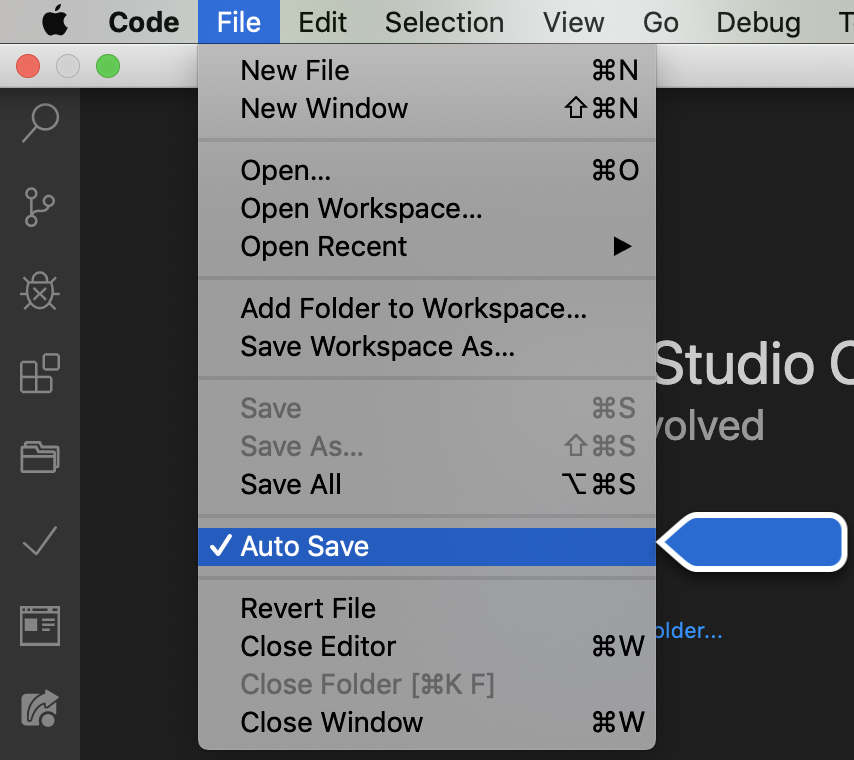
Verify that File > Auto Save is enabled:
-
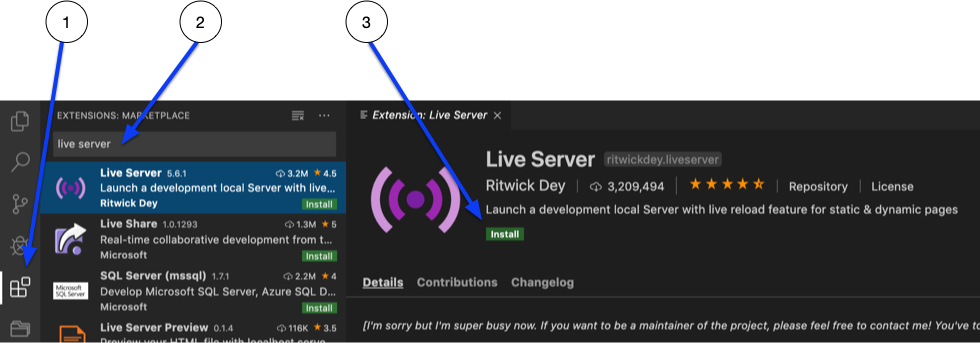
Open the Extensions panel ①. Search for the “Live Server” extension ②. Install it ③.
B. Download the project starter kit
- In a terminal, run
git clone https://github.com/osteele/p5-particle-workshop.git - In Visual Studio Code, open the
p5-particle-workshop - In Visual Studio Code, open the
sketch.jsfile. - In Visual Studio Code, click the Go Live button
C. Configure Chrome
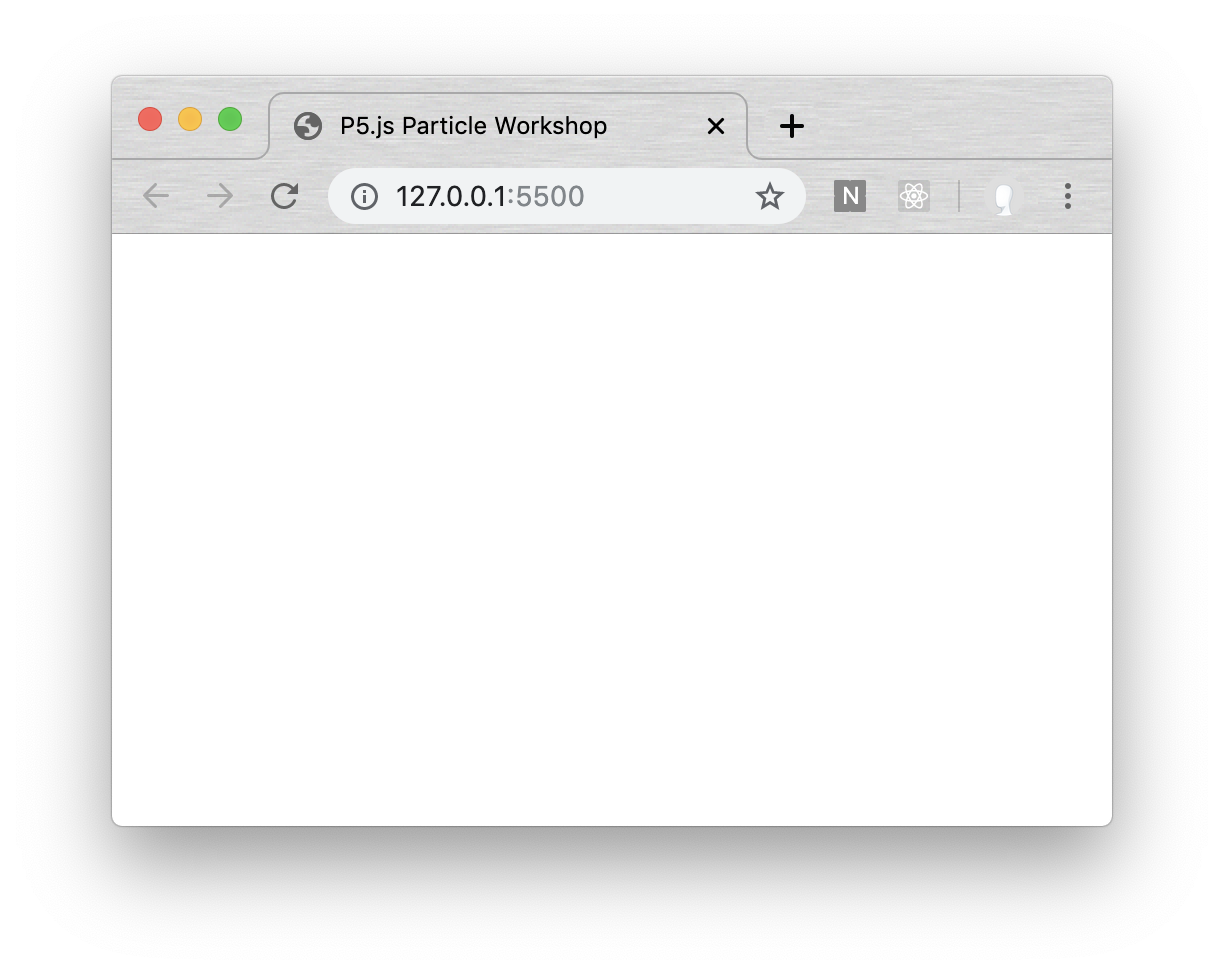
- Chrome (or your preferred browser) should open a tab that displays the sketch. (The current sketch is blank.)
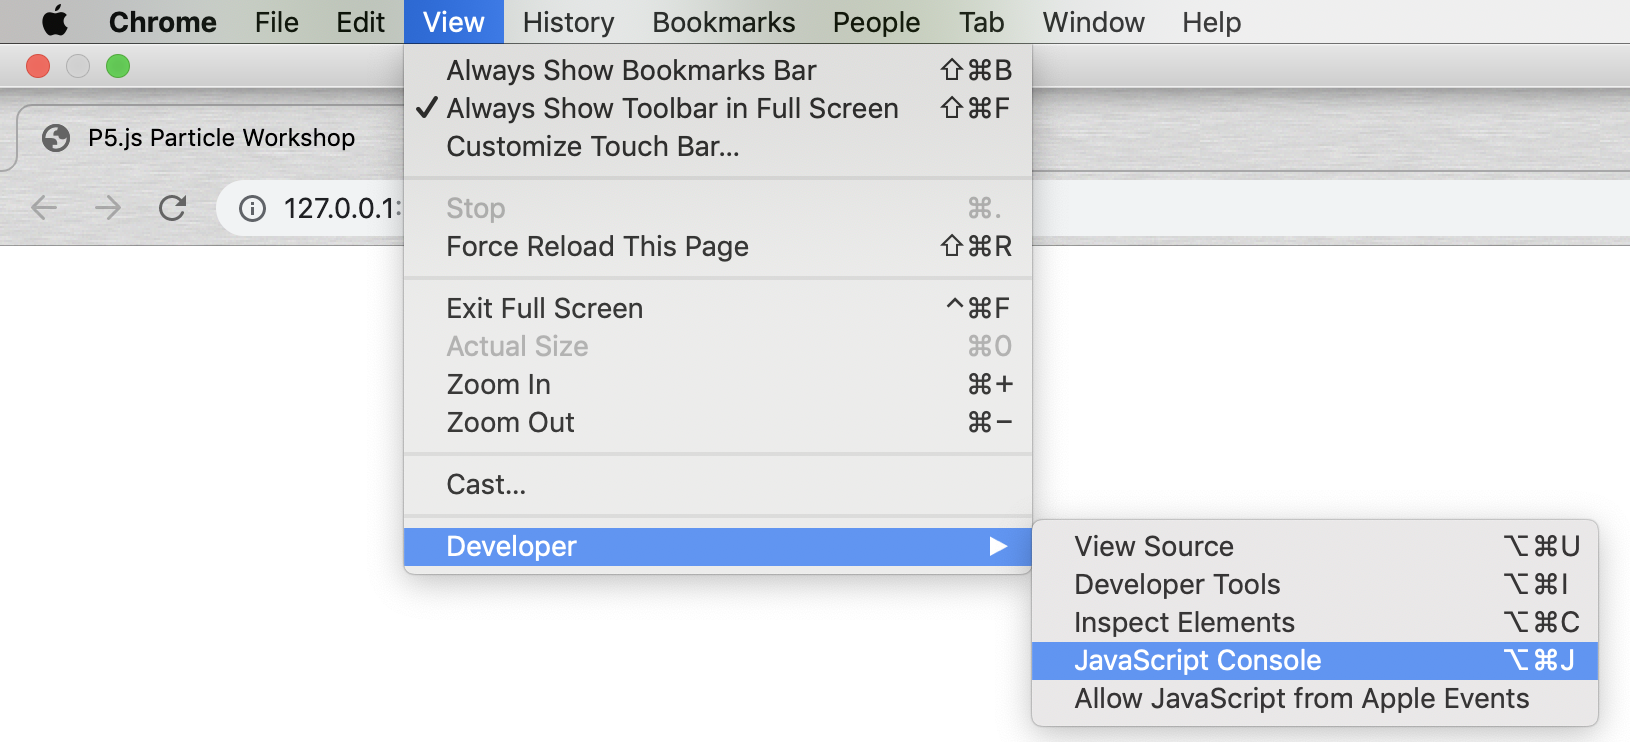
- Open the JavaScript Console: View > Developer Tools > JavaScript Console. Or, press Command+Option+J (Mac) or Control+Shift+J (Windows).
D. Arrange your windows
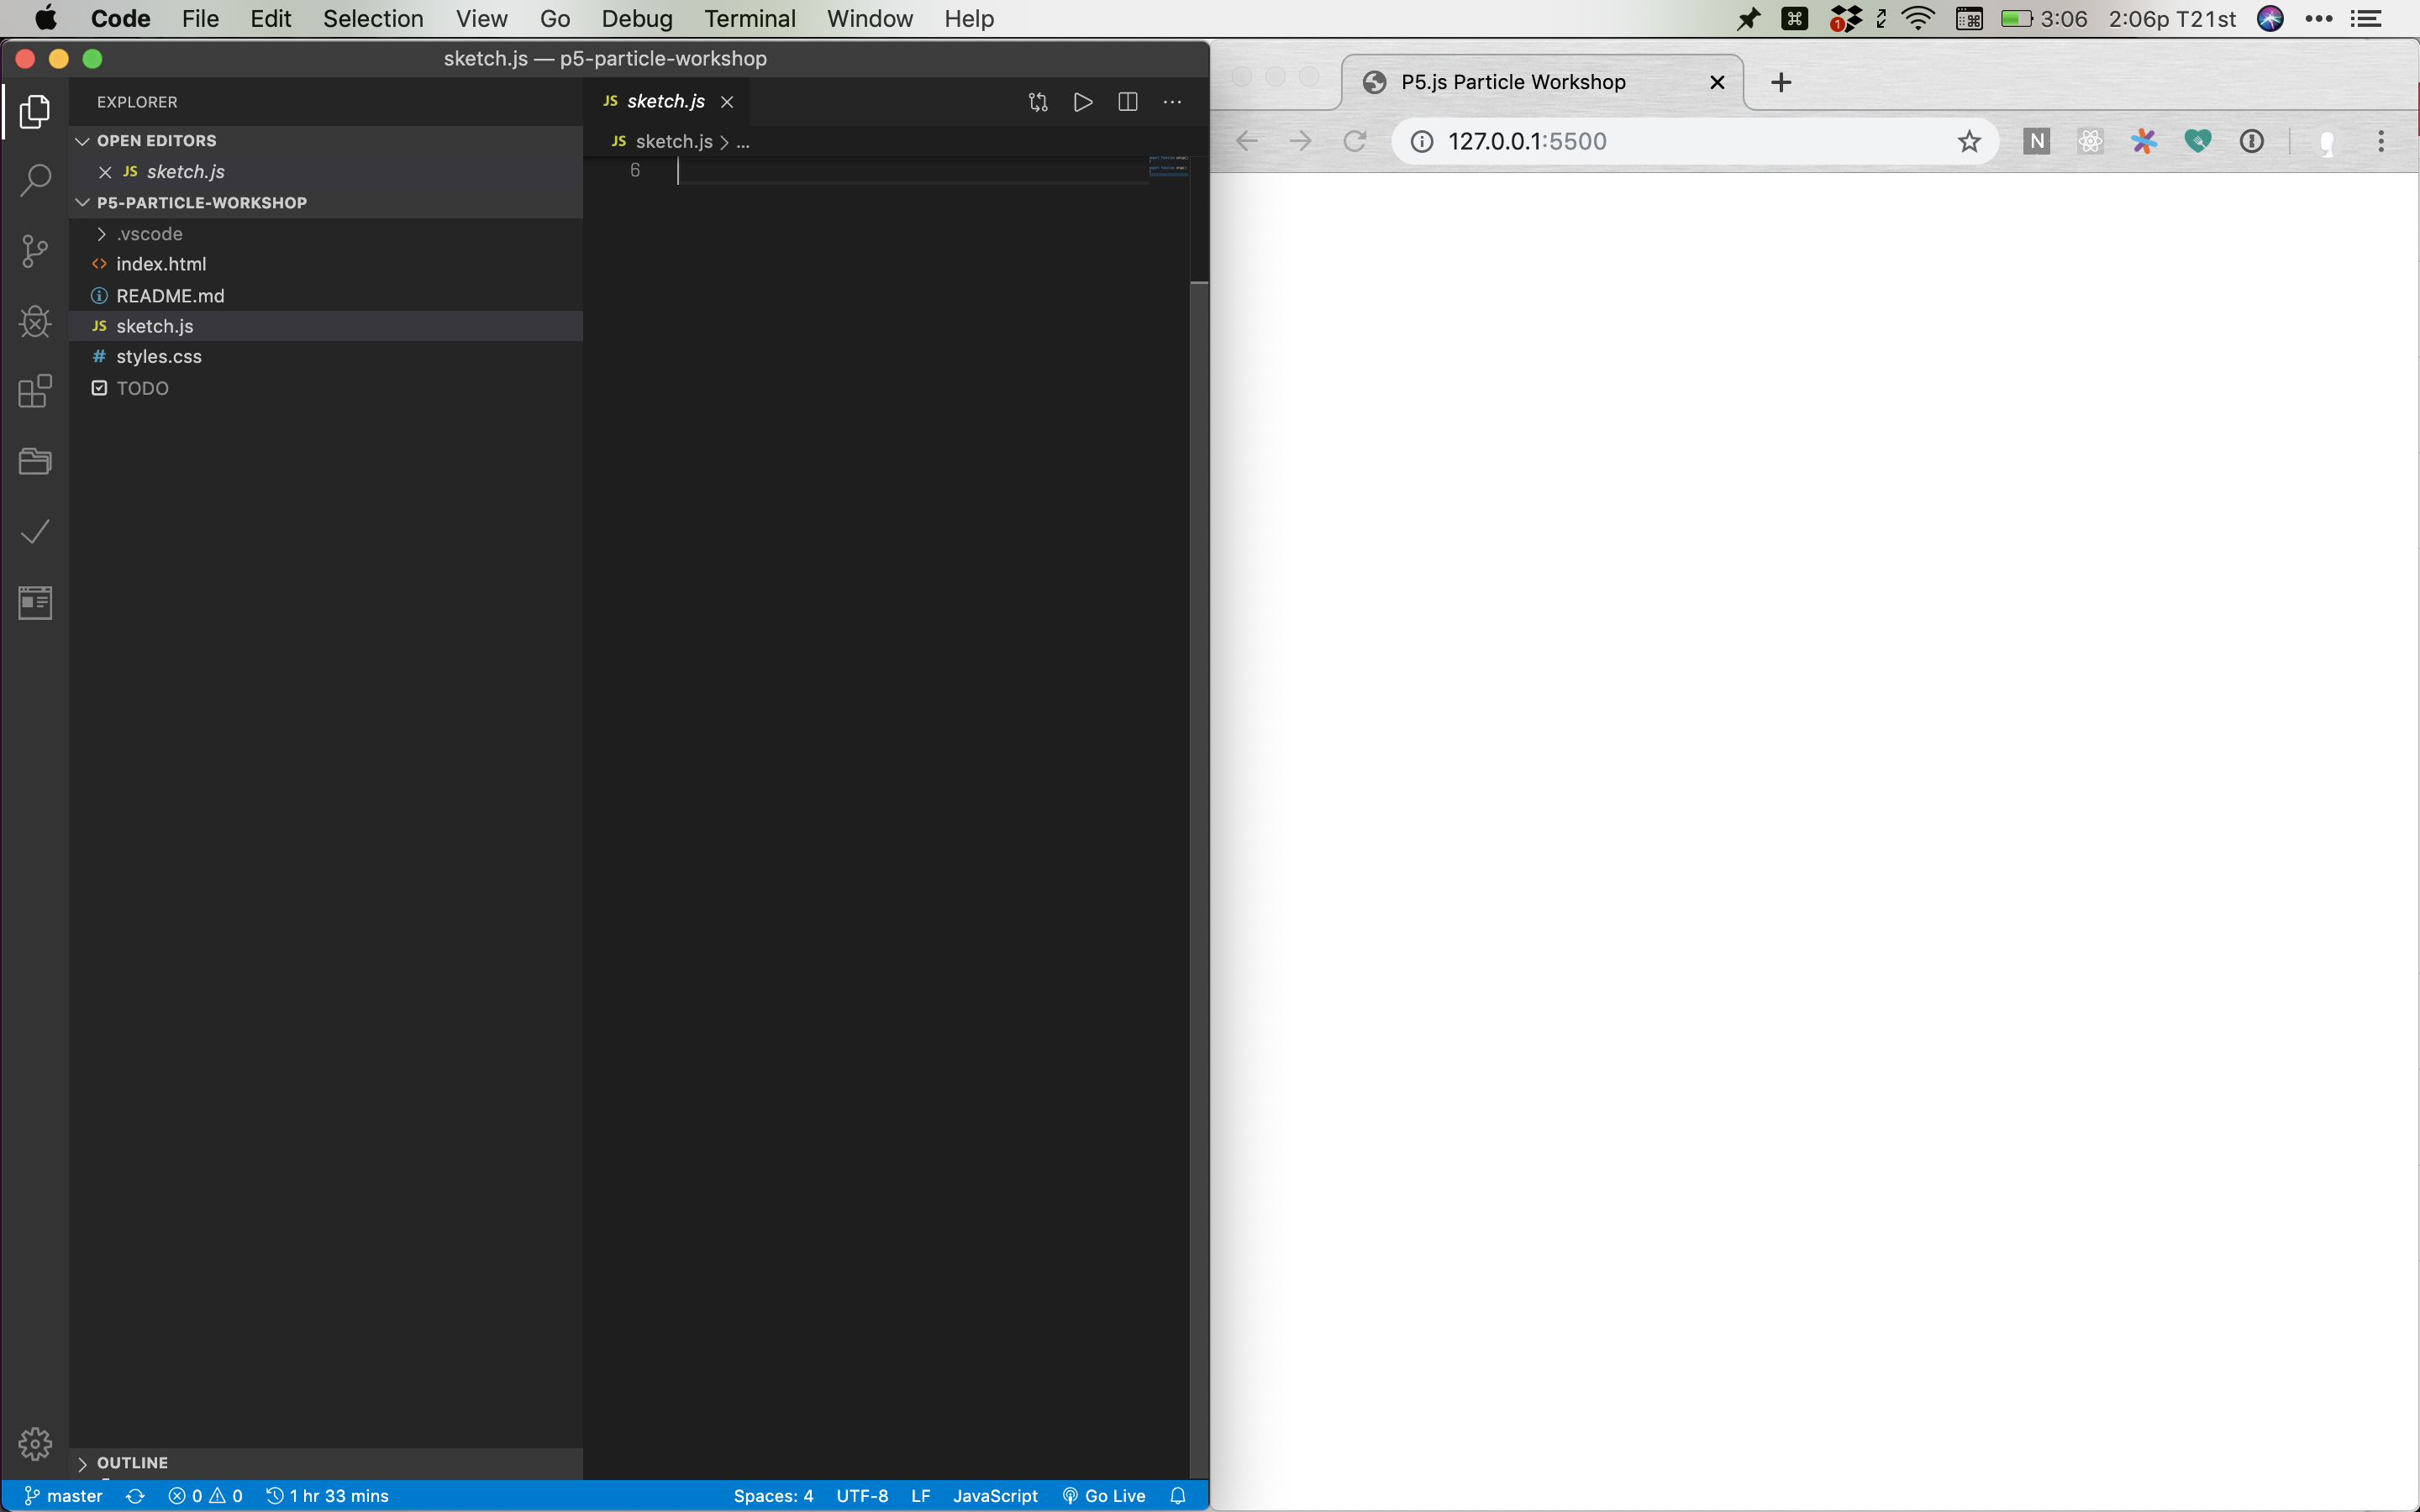
- Configure your desktop so that you can see your source code (in Visual Studio Code) and the drawing (in Chrome) at the same time.
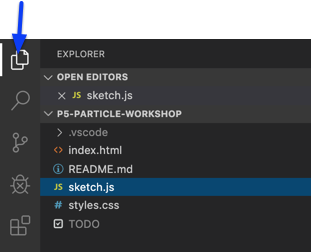
- To make more space for your editor, click the top Explorer icon in Visual Studio Code to hide the Explorer sidebar.
Live Coding
Now follow along as we create setup and draw functions, and use the functions from the p5.js reference to create images and animations.
Note: In the first studio (PoseNet) project, p5.js functions had to be prefixed with p5.: for example, p5.rect(50, 50, 10, 10). In this project, functions must be written without this prefix: for example, rect(50, 50, 10, 10).
After Class
Workshop notes: part 1, part 2, page 3
Intended takeaways
-
Practice using variables
-
Some examples of when and how to create a function
-
Using JavaScript objects to make more than one of a thing
-
Using
forEachto do the same thing to several objects -
Using
mapto create several objects -
Using
Math.floorand the modulus (%) operator to lay out objects -
Using
Math.randomto add randomness -
Using
mouseXandmouseYto add interactivity.Note: Our class projects will not make use of the mouse. The mouse, today, is a stand-in for data that will come from other sources.
-
Configuring a workspace (editor and browser) for productive coding